Using MLFlow to version your ML models [Part 1]
Preamble
If you’ve doing anything with machine-learning in the past, you know how much of a pain it is to keep track of your models. When testing, you might have multiple versions of the same model just lying around, without knowing what parameters went into it to produce the result. MLFlow aims to tackle this issue.
Setting up MLFlow
Before installing MLFlow, it is recommended to initialize a virtual environment first:
virtualenv env
source env/bin/activate
This makes sure that no dependencies will conflict with eachother.
Setting up MLFlow is pretty easy using pip:
pip install mlflow
This will install MLFlow alongside it’s necessary dependencies in your virtual environment.
You’re now ready to use MLFlow!
First, run the MLFlow server and UI:
mlflow ui
or:
mlflow server
this produces the following output:
[2022-01-04 16:24:28 +0100] [30405] [INFO] Starting gunicorn 20.1.0
[2022-01-04 16:24:28 +0100] [30405] [INFO] Listening at: http://127.0.0.1:5000 (30405)
[2022-01-04 16:24:28 +0100] [30405] [INFO] Using worker: sync
[2022-01-04 16:24:28 +0100] [30406] [INFO] Booting worker with pid: 30406
[2022-01-04 16:24:28 +0100] [30407] [INFO] Booting worker with pid: 30407
[2022-01-04 16:24:28 +0100] [30408] [INFO] Booting worker with pid: 30408
[2022-01-04 16:24:28 +0100] [30409] [INFO] Booting worker with pid: 30409
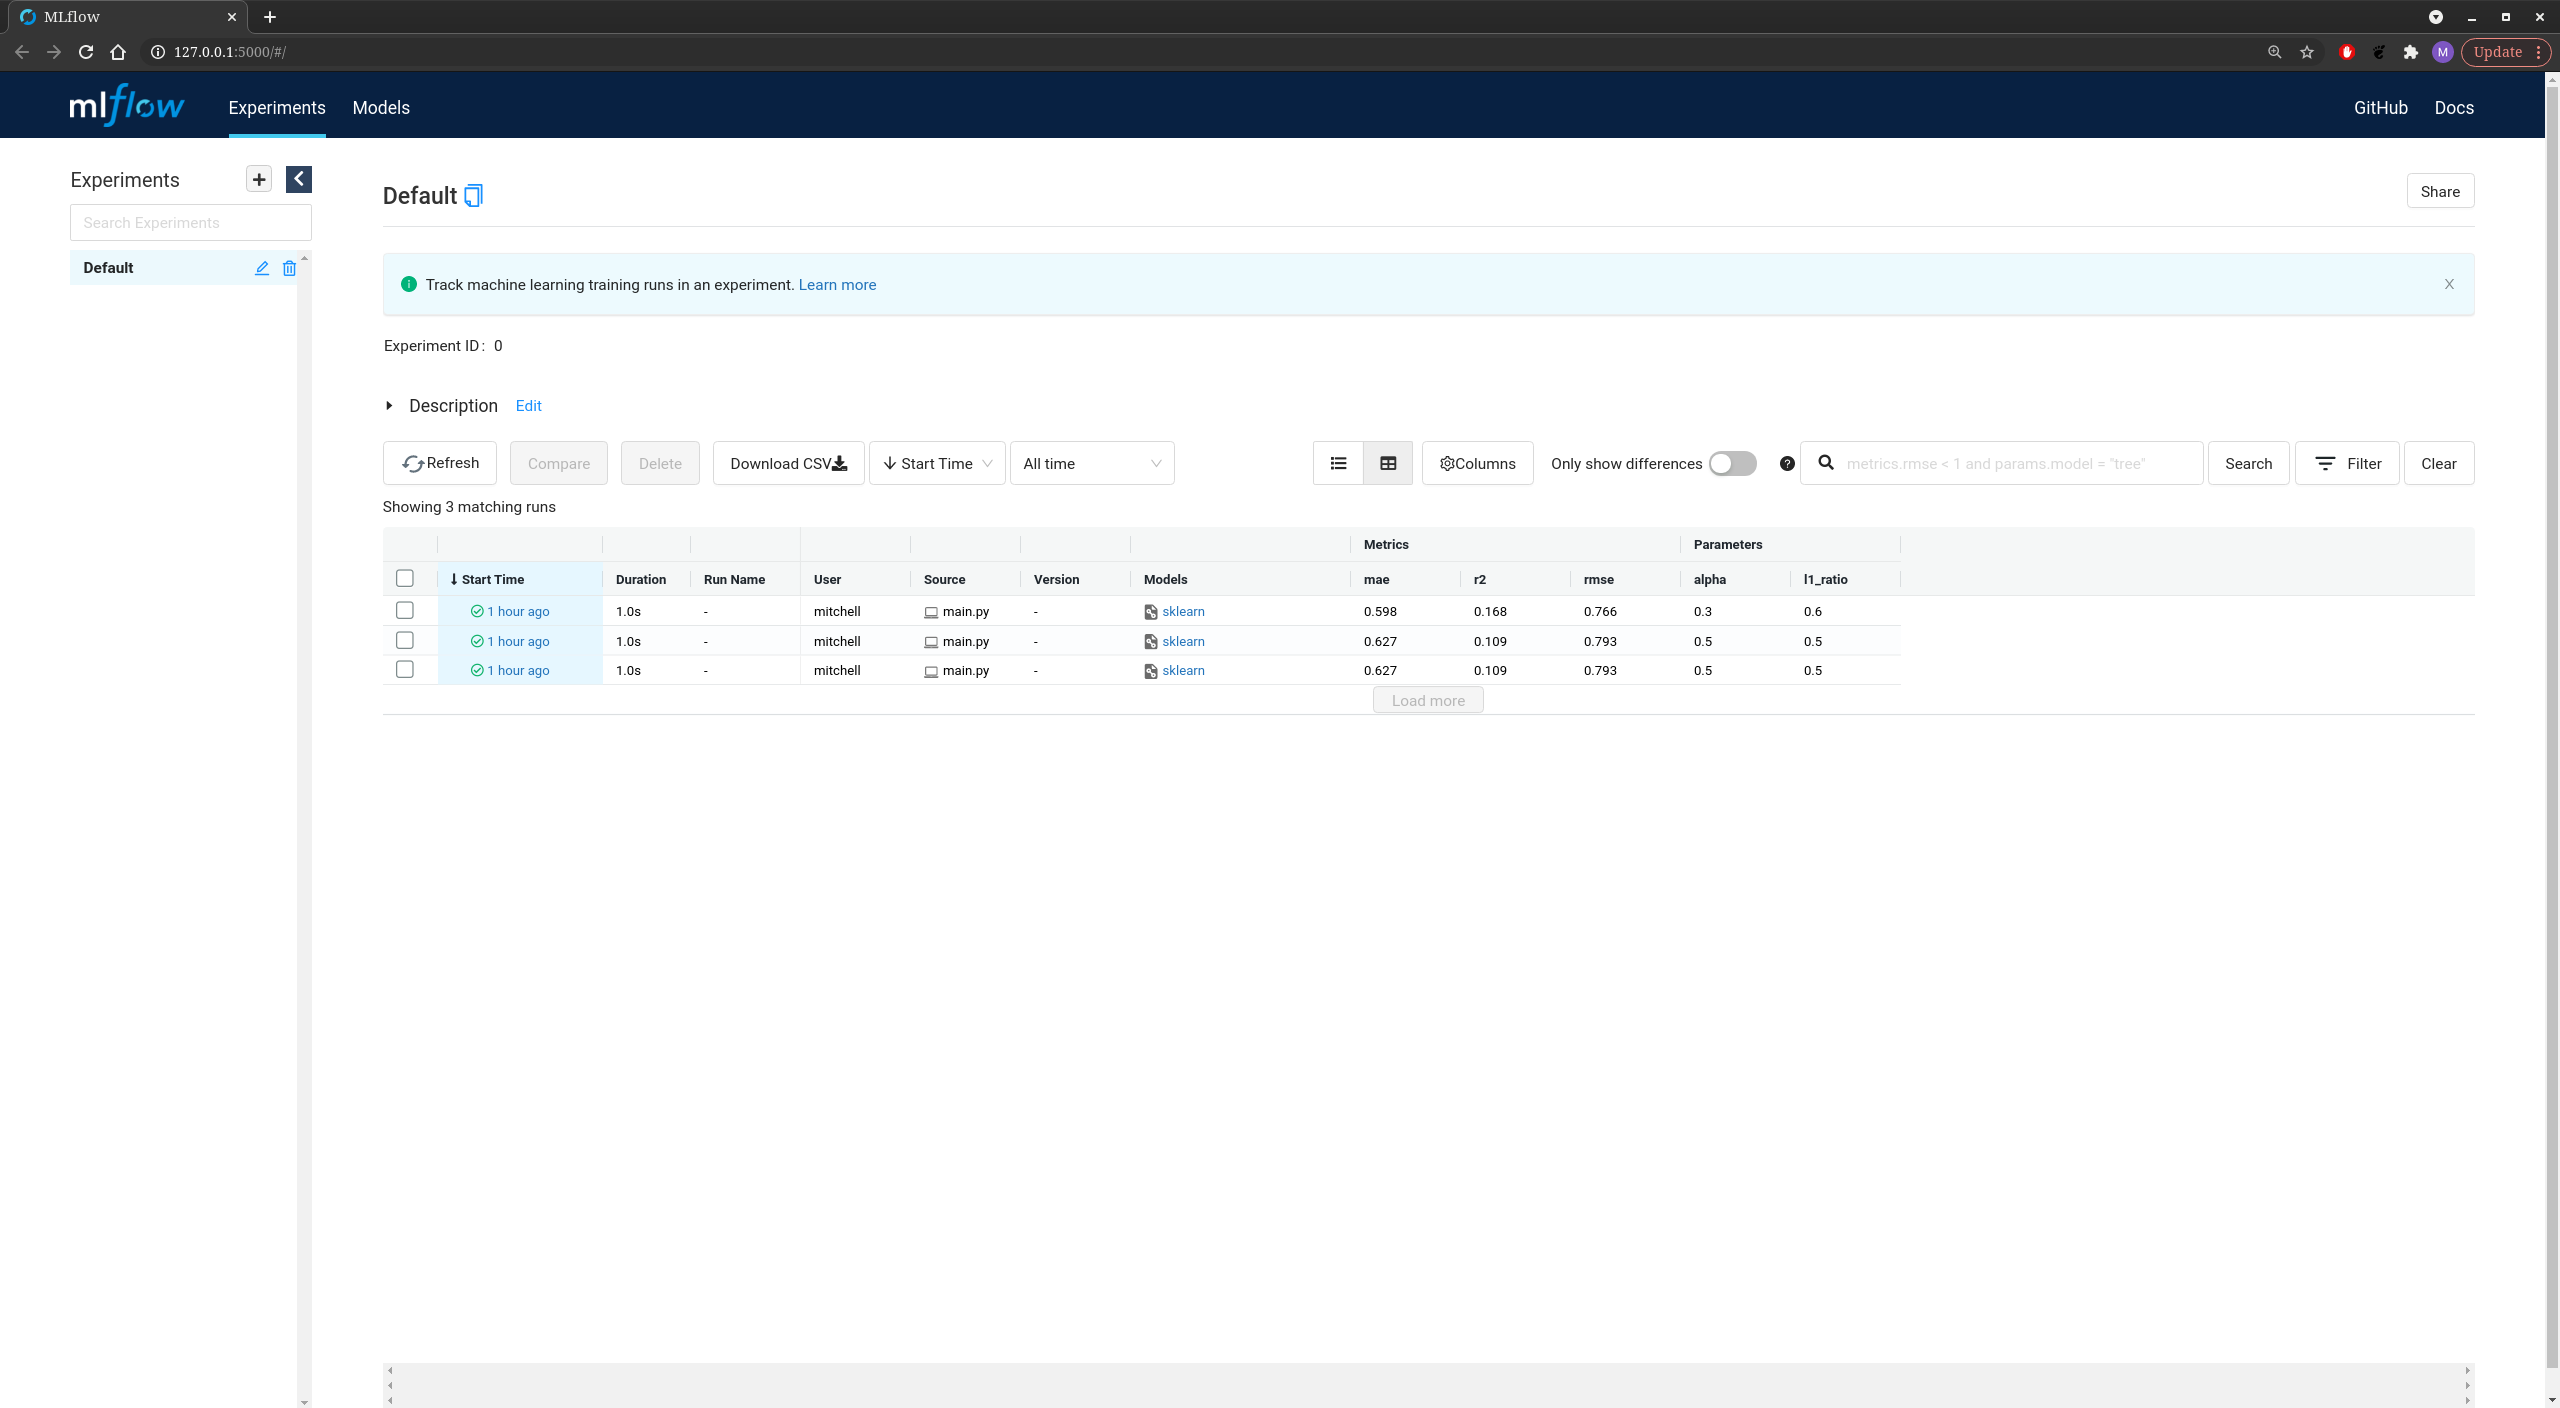
This tells us that the server has started at localhost:5000. If you navigate to it in the browser, you are greeted by the homescreen:
